Showing posts with label index. Show all posts

Postgres: Optimization & Beyond


Postgres, one of the widely used Relational Database Management System; has been widely adopted due to its ability to handle different workloads such as web services, warehouses, etc.
Fun Fact: The name Postgres comes from it's predecessor originated from UC Berkley's Ingres Database (INteractive GRaphics iterchangE System; meaning it's Post-INGRES).
There are times when the performance is straight forward and in other cases when the expected performance is not met; the Database requires some tweaking in the form of structural modifications to the table, Query Tuning, Configuration improvements, etc.

This article will provide some useful pointers and action plans to become a power-user in optimizing Postgres.

What to do when a query is slow?


In most cases, the occurrence of a slow query is due to the absence of indexes, for those fields that are being used in the where clause of the query.

That should have solved the problem, right? RIGHT?

You:


I hear you; Life ain't Fair, or Is it?

Not all Indexes for the fields in the WHERE clause can be helpful; It all depends on the appropriate query plan prepared by the optimizer: Prepend `EXPLAIN ANALYZE` to the query and run it to find the query plan.

Pro Tip: Use https://explain.depesz.com/ to visualize and analyze your query plan. The color formatting gives a straight forward output to debug the reason for the slowness.

The query plan itself can provide a whole lot of information about where the resources are overflowing. Given below, are a few of those keywords that you can find in the query plan and what they mean to you and the query performance.

Sequential Scan:

Yes, you read that right. The scan occurs sequentially; the filter runs for the whole table and returns back the rows that match the condition which can be very expensive and exhaustive. In the case of a single page / small table, Sequential scans are pretty fast.

But for larger tables; To speed up the query, the sequential scan needs to be changed to an Index Scan. This can be done by creating indexes on the columns that are present in the where clause.

Index Scans / Index Only Scans:

Index Scans denote that the indexes are being properly used. Just make sure that the analyzing & vacuuming happens once in a while. This keeps all the dead tuples out of the way and allows the optimizer to choose the right index for the scan.

Bitmap Index Scan:

And this right here is the bummer. Bitmap Index Scans are accompanied by Bitmap Heap Scans on top. These scans occur mostly happen when one tries to retrieve multiple rows but not all, based on multiple multiple logical conditions in the where clause.

It basically creates a bitmap out of the pages of the table, based on the condition provided (hence the Bitmap Heap Scan on top). The query can be sped up by creating a composite index A.K.A multicolumn index; which changes this scan to an Index Scan.

Caution: The order of the columns in the composite index needs to be maintained the same order as that of the where clause. 

Summarizing:

Indexes are good; Unused Indexes are Bad;
Having Too many Indexes is OK, as long as they are being used at some point.

More RAM for the DB is Good.

The VACUUM & ANALYZE of the tables is too good!!!
ARCHIVAL of Old Data --> Being a good citizen and you are awesome!!


Optimal Settings for a Postgres Engine:

For optimal performance, the following settings (requires a restart of the server) need to be made to the Postgresql conf file present in: `/etc/postgresql/10/main/postgresl.conf`

shared Buffer - 75% of RAM
work_mem - 25% of RAM
maintenance_mem - Min: 256MB; Max:512MB

Consider the scenario, where Postgres Server's has 160Gigs of RAM:

shared_buffer: 120GB
work_mem: 40GB
maintenance_mem: 256MB

Steps to Optimize a query:

1) Run Explain Analyze on your Query, and if takes too long; Run Explain on your Query.

2) Copy the output and paste it onto the dialogue box @ https://explain.depesz.com/

3) Check the Stats of your query:

Index Scans / Index Only Scans are the best and no changes need to be made.

Sequential Scans can be converted into Index Scans by creating the index for the particular column in the where clause.

Bitmap Heap Scans can be converted into Index Scans by creating composite indexes A.K.A multicolumn indexes, with the same order as that of the where clause, as:

CREATE INDEX $indexName ON $tableName ($Field1, $Field2);

Note to Self: Index & Optimize.!!


ES Index - S3 Snapshot & Restoration:

The question is. What brings you here? Fed up with all the searches on how to back-up and restore specific indices? 

Fear not, for your search quest ends here.!

After going through dozens of tiny gists and manual pages, here it is. We've done all the heavy lifting for you.


The following tutorial was tested on elasticsearch V5.4.0

And before we proceed, remember:

Do's:

Make sure that the elasticsearch version of the backed-up cluster/node <= Restoring Cluster's version.

Dont's:

Unless it's highly necessary;

        curl -X DELETE 'http://localhost:9200/nameOfTheIndex

              - deletes a specific index

Especially not, when you are drunk!:

        curl -X DELETE 'http://localhost:9200/_all

              - deletes all indexes (This is where the drunk part comes in..!!)


Step1: Install S3 plugin Support:

        sudo bin/elasticsearch-plugin install repository-s3
                                  (or)
        sudo /usr/share/elasticsearch/bin/elasticsearch-plugin install repository-s3

Depends on where your elasticsearch-plugin executable is installed. This enables the elasticsearch instance to communicate with the AWS S3 buckets.

Step2: Input the Snapshot registration settings:

METHOD: PUT

URL: http://localhost:9200/_snapshot/logs_backup?verify=false&pretty

PAYLOAD:
                {
                  "type": "s3",
                  "settings": {
                    "bucket": "WWWWWW",
                    "region": "us-east-1",
                    "access_key": "XXXXXX",
                    "secret_key": "YYYYYY"
                  }
                }


In the URL:
       - logs_backup: Name of the snapshot file

In the payload JSON:
        - bucket: "WWWWW" is where you enter the name of the bucket.
        - access_key & secret_key: The values "XXXXXX" and "YYYYYY" is where we key in the access key and secret key for the buckets based on the IAM policies - If you need any help to find it, here's a link which should guide you through (https://aws.amazon.com/blogs/security/wheres-my-secret-access-key/).
        - region: the region where the bucket is hosted (choose any from http://docs.aws.amazon.com/general/latest/gr/rande.html).

This should give a response as '{"acknowledged": "true"}'.

Step3: Cloud-Sync - list all Snapshots:

METHOD: GET 

URL: http://localhost:9200/_cat/snapshots/logs_backup?v


In the URL:
       - logs_backup: Name of the snapshot file
Time to sync up all the list of snapshots. If all our settings have been synced up just fine; we should end up with a list of indices, close to that of what is shown below:


Step4: Creating a Snapshot:

METHOD: PUT

URL: http://localhost:9200/_snapshot/logs_backup/type_of_the_backup?wait_for_completion=true

PAYLOAD:
            {
                "indices": "logstash-2017.11.21",
                "include_global_state": false,
                "compress": true,
                "encrypt": true
            }


In the URL:
       - logs_backup : Name of the snapshot file
       - type_of_the_backup : Could be any string
     
In the payload JSON:
        - indices: Correspond to the index which is to be backed-up to S3 bucket. In the case of multiple indices to back up under a single restoration point, the indices can be entered in the form of an array.
        - include_global_state: set to 'false' just to make sure there's cross-version compatibility. WARNING: If set to 'true', the index can be restored only to the ES of the source version.
        - compress: enables compression of the index meta files backed up to S3.
        - encrypt: In case if extra encryption on the indices is necessary.

This should give a response as '{"acknowledged": "true"}'

Step5: Restoring a Snapshot:

METHOD: PUT

URL: http://localhost:9200/_snapshot/name_of_the_backup/index_to_be_restored/_restore

PAYLOAD:
            {
                "ignore_unavailable": true,
                "include_global_state": false
            }

In the URL:
       - logs_backup: Name of the snapshot file
       - index_to_be_restored: Any of the index from the id listed in Step:3

In the payload JSON:
        - ignore_unavailable: It's safe to set this to true, to avoid unwanted checks.
        - include_global_state: set to 'false' just to make sure there's cross-version compatibility. WARNING: If set to 'true', the index can be restored only to the ES of the source version.

This should give a response as '{"acknowledged": "true"}'

Et Voila!  The restoration is complete.

And Don't forget to recycle the space corresponding to the index by safely deleting it - Reuse, Reduce & Recycle :)

Happy Wrangling!!!

Featured Posts

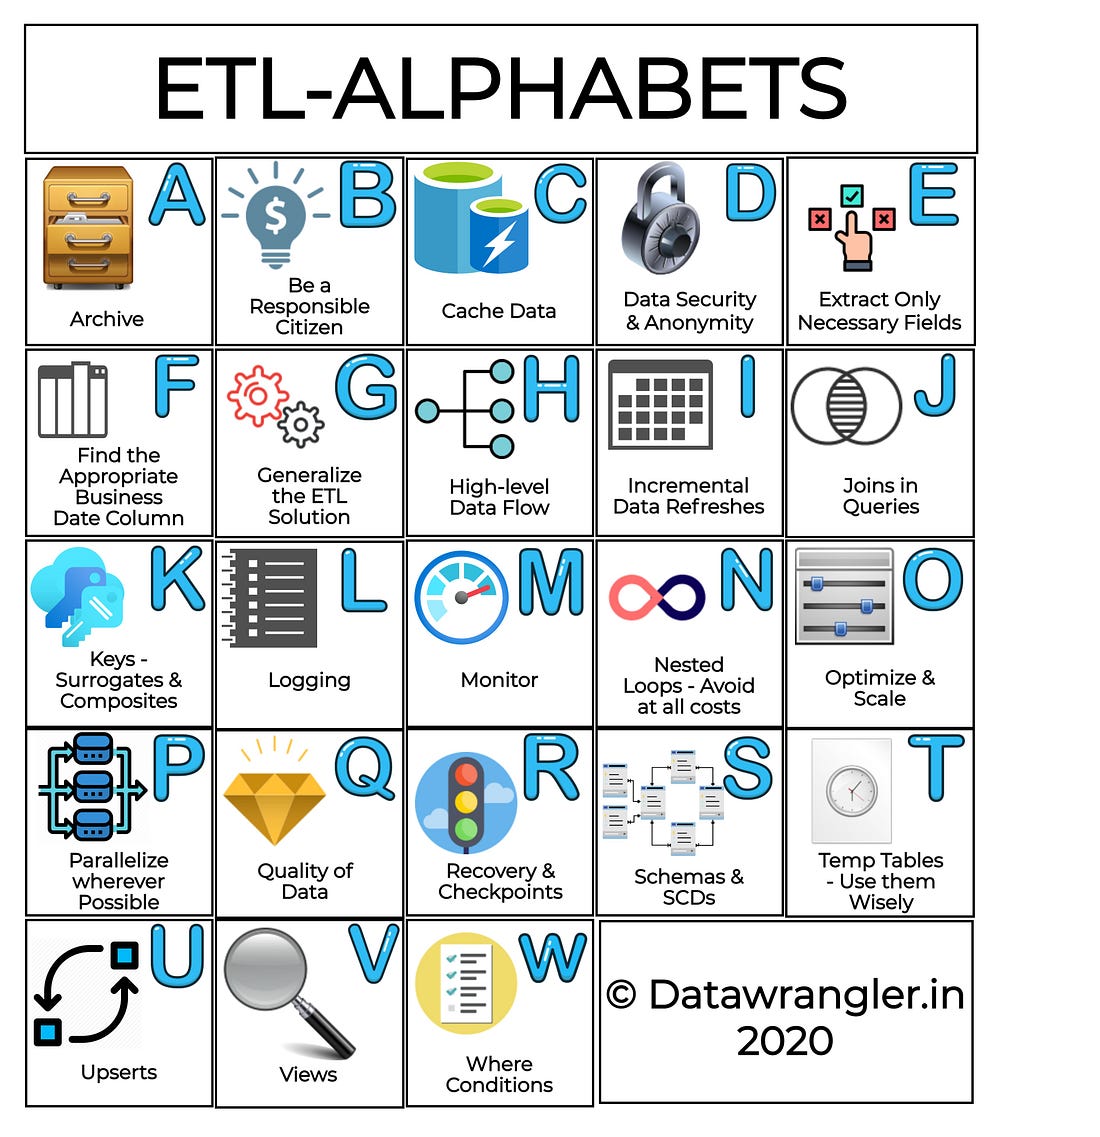
ETL & Enterprise Level Practices

  ETL Strategies & Pipelines have now become inevitable for cloud business needs. There are several ETL tools in the market ranging fro...